
就是Google推出的一个基于个人网站的交友工具……
目前Google已经将Blogger整合了GFC(被称作Followers)
但是只能用Badge
无法直接使用自定义界面的GFC
如图:
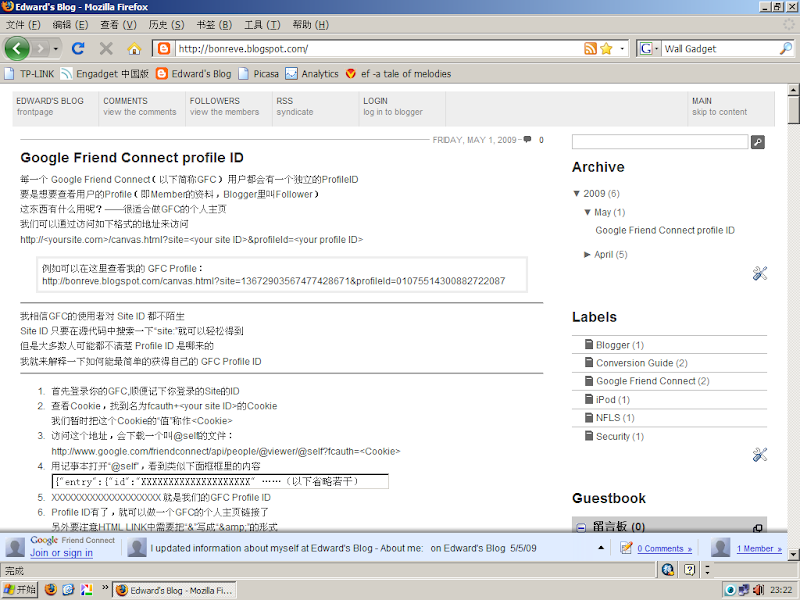
点击查看原图 - - 1024×768
顺便给大家说一下原因:
- GFC注册时选“Friend Connect forstandard web sites”才可以自定义
Google封掉了Blogger使用standard web sites注册,会有类似如下错误
We were unable to locate required files at the Home URL:
- Confirm that http://bonreve.blogspot.com/ is the correct Home URL of your site. If not, go back.
- Confirm that rpc_relay.html is at your Home URL: http://bonreve.blogspot.com/rpc_relay.html
俗话说上有政策下有对策……
在Google封之前的用户仍可以使用……(由此推测我们也可以)
经过长达30Min的钻研之后
我终于摸索出如何把GFC Social Bar添加到Blogger
在此与大家分享
- 在“布局—页面元素”页面创建一个Followers(跟踪者)小工具,保存
- 查看博客,查看页面源代码,搜索关键字:“site:”(不含引号)
- 看到一个类似于 site:'XXXXXXXXXXXXXXXXXXXX' (20位数字就是你的站点的ID)
- 把上面的数字复制到记事本(反正就是记下来)
- 转到“布局—修改Html”,到最底下找到
</body>
</html>
把GFC Social Bar的代码贴到</body>之前(代码请在下面复制) - 找到代码中的site:'XXXXXXXXXXXXXXXXXXXX' 替换成你自己的ID
- 保存!大功告成,之前创建的侧边工具可以删掉,不会有影响的
GFC Social Bar Example Source Code
<script src='http://www.google.com/friendconnect/script/friendconnect.js' type='text/javascript'/>
<div id='div-for-the-social-bar'/>
<!-- Render the gadget into a div. -->
<script type='text/javascript'>
var skin = {};
skin['BORDER_COLOR'] = '#cccccc';
skin['ENDCAP_BG_COLOR'] = '#e0ecff';
skin['ENDCAP_TEXT_COLOR'] = '#333333';
skin['ENDCAP_LINK_COLOR'] = '#0000cc';
skin['ALTERNATE_BG_COLOR'] = '#ffffff';
skin['CONTENT_BG_COLOR'] = '#ffffff';
skin['CONTENT_LINK_COLOR'] = '#0000cc';
skin['CONTENT_TEXT_COLOR'] = '#333333';
skin['CONTENT_SECONDARY_LINK_COLOR'] = '#7777cc';
skin['CONTENT_SECONDARY_TEXT_COLOR'] = '#666666';
skin['CONTENT_HEADLINE_COLOR'] = '#333333';
skin['POSITION'] = 'bottom';
skin['DEFAULT_COMMENT_TEXT'] = '- add your comment here -';
skin['HEADER_TEXT'] = 'Comments';
google.friendconnect.container.setParentUrl('/');
google.friendconnect.container.renderSocialBar(
{ id: 'div-for-the-social-bar',
site: 'XXXXXXXXXXXXXXXXXXXX',
'view-params':{"scope":"SITE",
"features":"video,comment",
"showWall":"true"}
},
skin);
</script>


0 comments:
Post a Comment